Valentine’s Day is just around the corner! With our young kiddoes still celebrating Valentine’s Day in their school classrooms, valentine’s boxes are still an annual necessity at their age. Our THiNK OUTSiDE family is a BiG proponent of the “Reduce, Reuse, Recycle” slogan and generally look for ways that we can reduce our impact on the environment. So I loved that my son wanted to repurpose his THiNK OUTSiDE cardboard box as his valentine box. Especially today, on a morning when he tells me, “But Mom, our Valentine’s Day party is today, not Monday. My box isn’t ready.” Insert don’t-panic-just-figure-it-out emoji face here.
Needless to say, our morning was a little busy as I had confused the painted THiNK OUTSiDE cardboard box as his valentine box. That was not the case—that was his sister‘s project, hence all the cute pink and red hearts. Thinking we would be too rushed for time, I tried to do the whole parent thing where you attempt to convince your child “this one is just as cool” referencing his older sister’s box. Unsuccessful.
“Umm, that one has hearts on it, I don’t want hearts on my box.”
He would’ve been perfectly fine taking just a basic THiNK OUTSiDE box with no décor. But, since I totally missed the fact that his party was today, I figured I should probably try to make it up to him. Off to the internet for quick inspiration! We did a quick search of “Boys Valentine’s Day Boxes”. So many options and all so cute! However, it only took a few seconds for him to determine he needed a valentine-eating-monster box. The funny thing, we were actually able to use items directly from his February Shelter box, with a few other items from past boxes to pull this off in only 15 minutes!
So for any of you other parents out there that are like me (bad with calendars and quick with back-up plans), here’s a fun way to use some of your THiNK OUTSiDE items to create your own valentine-eating-monster box!
Supplies
THiNK OUTSiDE cardboard box
Pipe cleaners (included in February's box!)
Small craft balls for eyes (or the UV-ray detection beads from the Shelter box)
Duct tape (included in December's box)
Black construction paper (included in June's box)
White paper for teeth
Scissors or a tool to cut out the mouth
Sharp tool to poke holes in the box (like your June roasting fork!)
Instructions
Follow the directions and see images below to create your own fun valentine box character!
Start by having your child draw a circle on the top of the box for where the mouth should go.
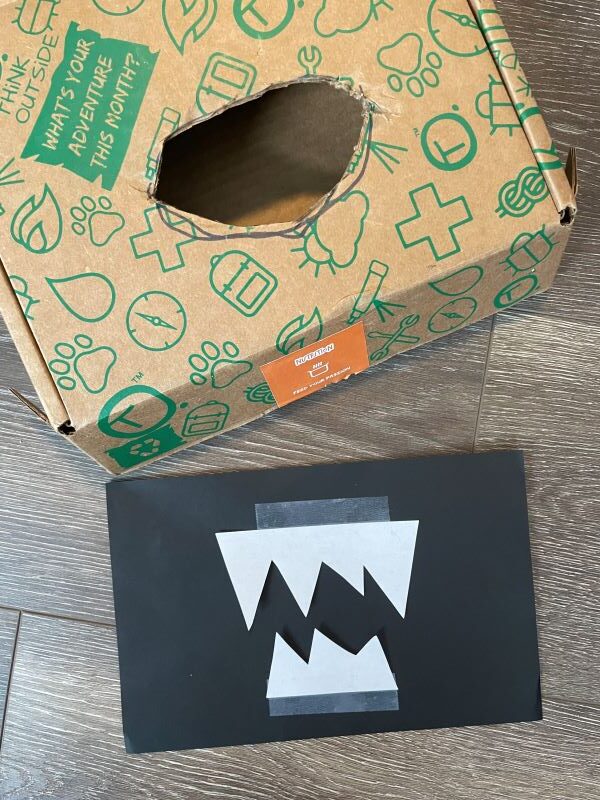
Fully cut out the circle (this is where the cards can be inserted into).
Next, poke 2 holes on the back green edge of the box (“X” marks the spot!).
Meanwhile, ask your child to cut out triangles or a “mountain range” that will become the monster’s teeth.
The teeth can be glued or taped onto the black paper as the monster’s teeth. Just make sure they are close enough to show through where the mouth has been cut out on the box. Tip: We had white sticker labels that I had my son use to make it super easy to just stick on the black paper.
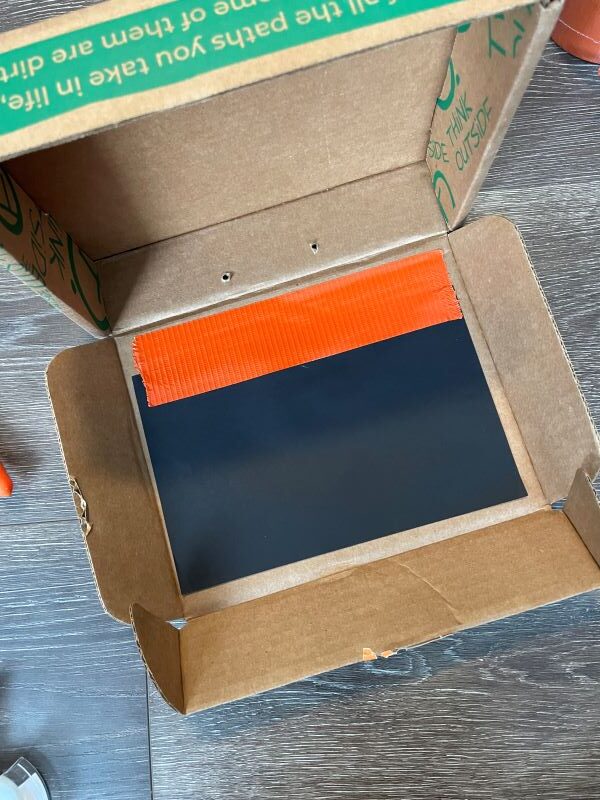
Once the teeth are set, you can tape the black paper to the inside of the box. Tape only on the top half near the lid’s fold.
For the eyes, help your child thread the pipe cleaners through each hole on the back edge of the box.
Place the craft balls on each pipe cleaner and bend the wires so that they hold the eyes up.
Now close the box and wrap it in foil, duct tape, or any other material you might have sitting around to give your monster a fun flash of color!